Revitalizing your home’s hardwood floors can significantly enhance its beauty and value. In Kitchener, professional hardwood floor refinishing services offer homeowners the opportunity to restore their floors to their original splendour. This process not only rejuvenates the appearance of your floors but also extends their lifespan, ensuring they remain a stunning feature in your home for years to come.
Understanding Hardwood Floor Refinishing
Hardwood floor refinishing involves sanding down the existing floor to remove surface imperfections such as scratches, stains, and dents. Once the surface is smooth, a new finish is applied, which can range from clear coats that highlight the natural wood grain to stains that alter the floor’s colour to match your interior décor. This meticulous process requires specialized equipment and expertise to achieve professional results.
Benefits of Professional Refinishing
Opting for professional refinishing services in Kitchener ensures that the job is done efficiently and to the highest standards. Experienced technicians have the skills to handle various types of hardwood and can provide advice on the best finishes to use. Additionally, professionals can address any underlying issues, such as loose boards or minor repairs, ensuring a flawless finish.
Stair Refinishing and Capping

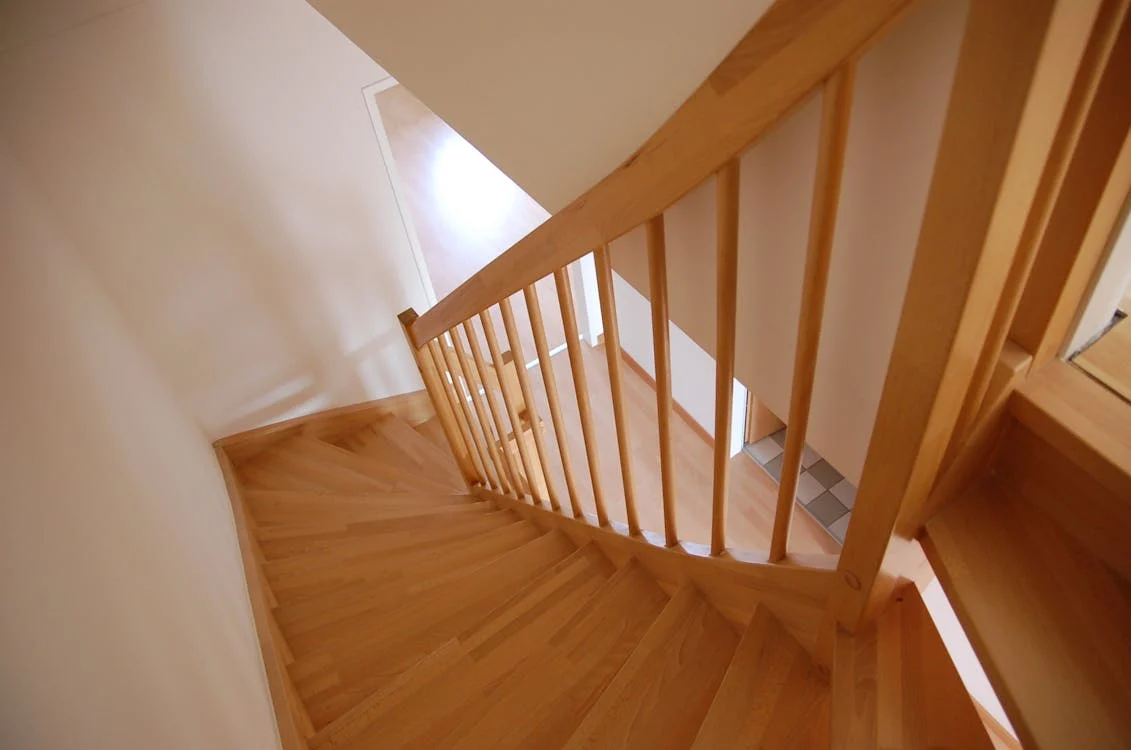
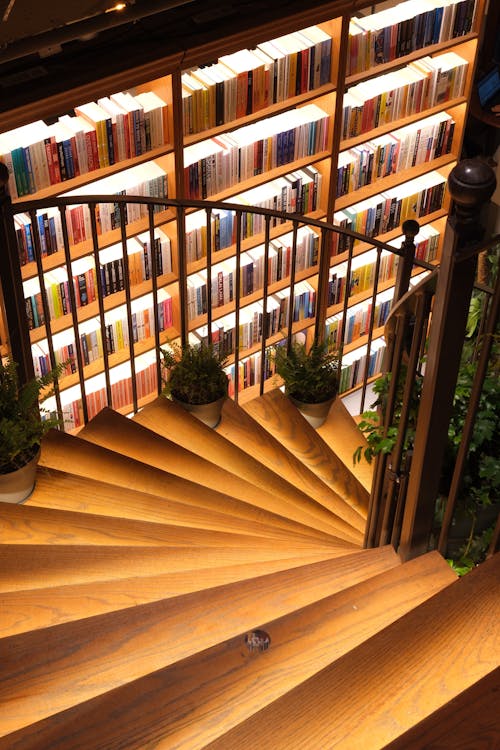
Beyond floors, staircases are a prominent feature in many homes. Over time, stairs can show signs of wear and tear. Professional stair refinishing involves sanding and re-staining the treads and risers, bringing them back to life. Stair capping is another service where new treads are installed over existing stairs, providing a fresh look without the need for complete replacement.
Custom Hardwood Flooring Solutions
For homeowners looking to make a statement, custom hardwood flooring offers unique designs tailored to individual preferences. Whether it’s intricate parquet patterns or selecting exotic wood species, custom solutions can transform any space into a reflection of personal style.
Choosing the Right Service Provider
When selecting a hardwood floor refinishing service in Kitchener, it’s essential to consider the company’s experience, reputation, and range of services offered. One such provider is Another Level Flooring and Wood Restoration, known for their expertise in stair refinishing and custom flooring solutions. Their commitment to quality craftsmanship ensures that each project is completed to the highest standards.
Maintaining Your Refinished Floors
After investing in refinishing, proper maintenance is crucial to preserve the beauty of your hardwood floors. Regular cleaning with appropriate products, using area rugs in high-traffic zones, and promptly addressing spills can prevent damage. Additionally, periodic assessments by professionals can help identify and address minor issues before they escalate.
Environmental Considerations
Refinishing existing hardwood floors is an environmentally friendly option compared to replacing them. It reduces the demand for new materials and minimizes waste. Many service providers also offer eco-friendly finishes with low volatile organic compounds (VOCs), ensuring a healthier indoor environment.
Conclusion
Investing in professional hardwood floor refinishing services in Kitchener not only enhances the aesthetic appeal of your home but also adds to its value and longevity. With a range of services available, from stair refinishing to custom flooring solutions, homeowners can achieve the perfect look that complements their style. By choosing experienced professionals like Another Level Flooring and Wood Restoration, you can ensure that your floors receive the care and attention they deserve, resulting in a beautiful and durable finish.
 Divers